An emergency fund is your financial safety net—the buffer that stands between you and financial disaster when life throws you a curveball. Yet studies show that nearly 40% of Americans couldn’t cover a $400 emergency expense without borrowing money or selling something.
If you’re among those without adequate emergency savings, you’re not alone, and it’s not too late to start. This comprehensive guide will show you exactly how to build an emergency fund that provides real financial security.
What Is an Emergency Fund?
An emergency fund is money set aside specifically for unexpected expenses or financial emergencies. It’s not for planned expenses, wants, or opportunities—it’s strictly for true emergencies that threaten your financial stability.
What Qualifies as an Emergency?
True emergencies:
- Job loss or significant income reduction
- Major medical expenses not covered by insurance
- Essential home repairs (roof leak, HVAC failure, plumbing emergency)
- Car repairs needed for work transportation
- Family emergencies requiring travel or financial support
NOT emergencies:
- Vacation opportunities
- Holiday or birthday gifts
- Home renovations or upgrades
- Shopping sales or “deals”
- Investment opportunities
How Much Should You Save?
The standard advice is to save 3-6 months of expenses, but the right amount depends on your specific situation.
The Progressive Approach
Phase 1: Starter Emergency Fund ($500-$1,000) Your first goal should be a small starter fund to handle minor emergencies without using credit cards. This prevents small problems from becoming debt spirals.
Phase 2: Basic Emergency Fund (1 month of expenses) Calculate your essential monthly expenses and save one month’s worth. This covers short-term income disruptions.
Phase 3: Standard Emergency Fund (3-6 months of expenses) The traditional recommendation that covers most job searches and extended emergencies.
Phase 4: Extended Emergency Fund (6-12+ months) For those with variable income, health issues, or high-risk situations.
Calculating Your Target Amount
Step 1: List essential monthly expenses
- Housing (rent/mortgage, utilities, insurance)
- Food and groceries
- Transportation (car payment, gas, insurance)
- Minimum debt payments
- Healthcare costs
- Basic clothing
- Essential subscriptions (phone, internet)
Step 2: Multiply by your target months
- Conservative: 6 months
- Moderate: 3-4 months
- Aggressive: 1-2 months (not recommended for most)
Example calculation:
- Essential monthly expenses: $3,500
- Target: 6 months
- Emergency fund goal: $21,000
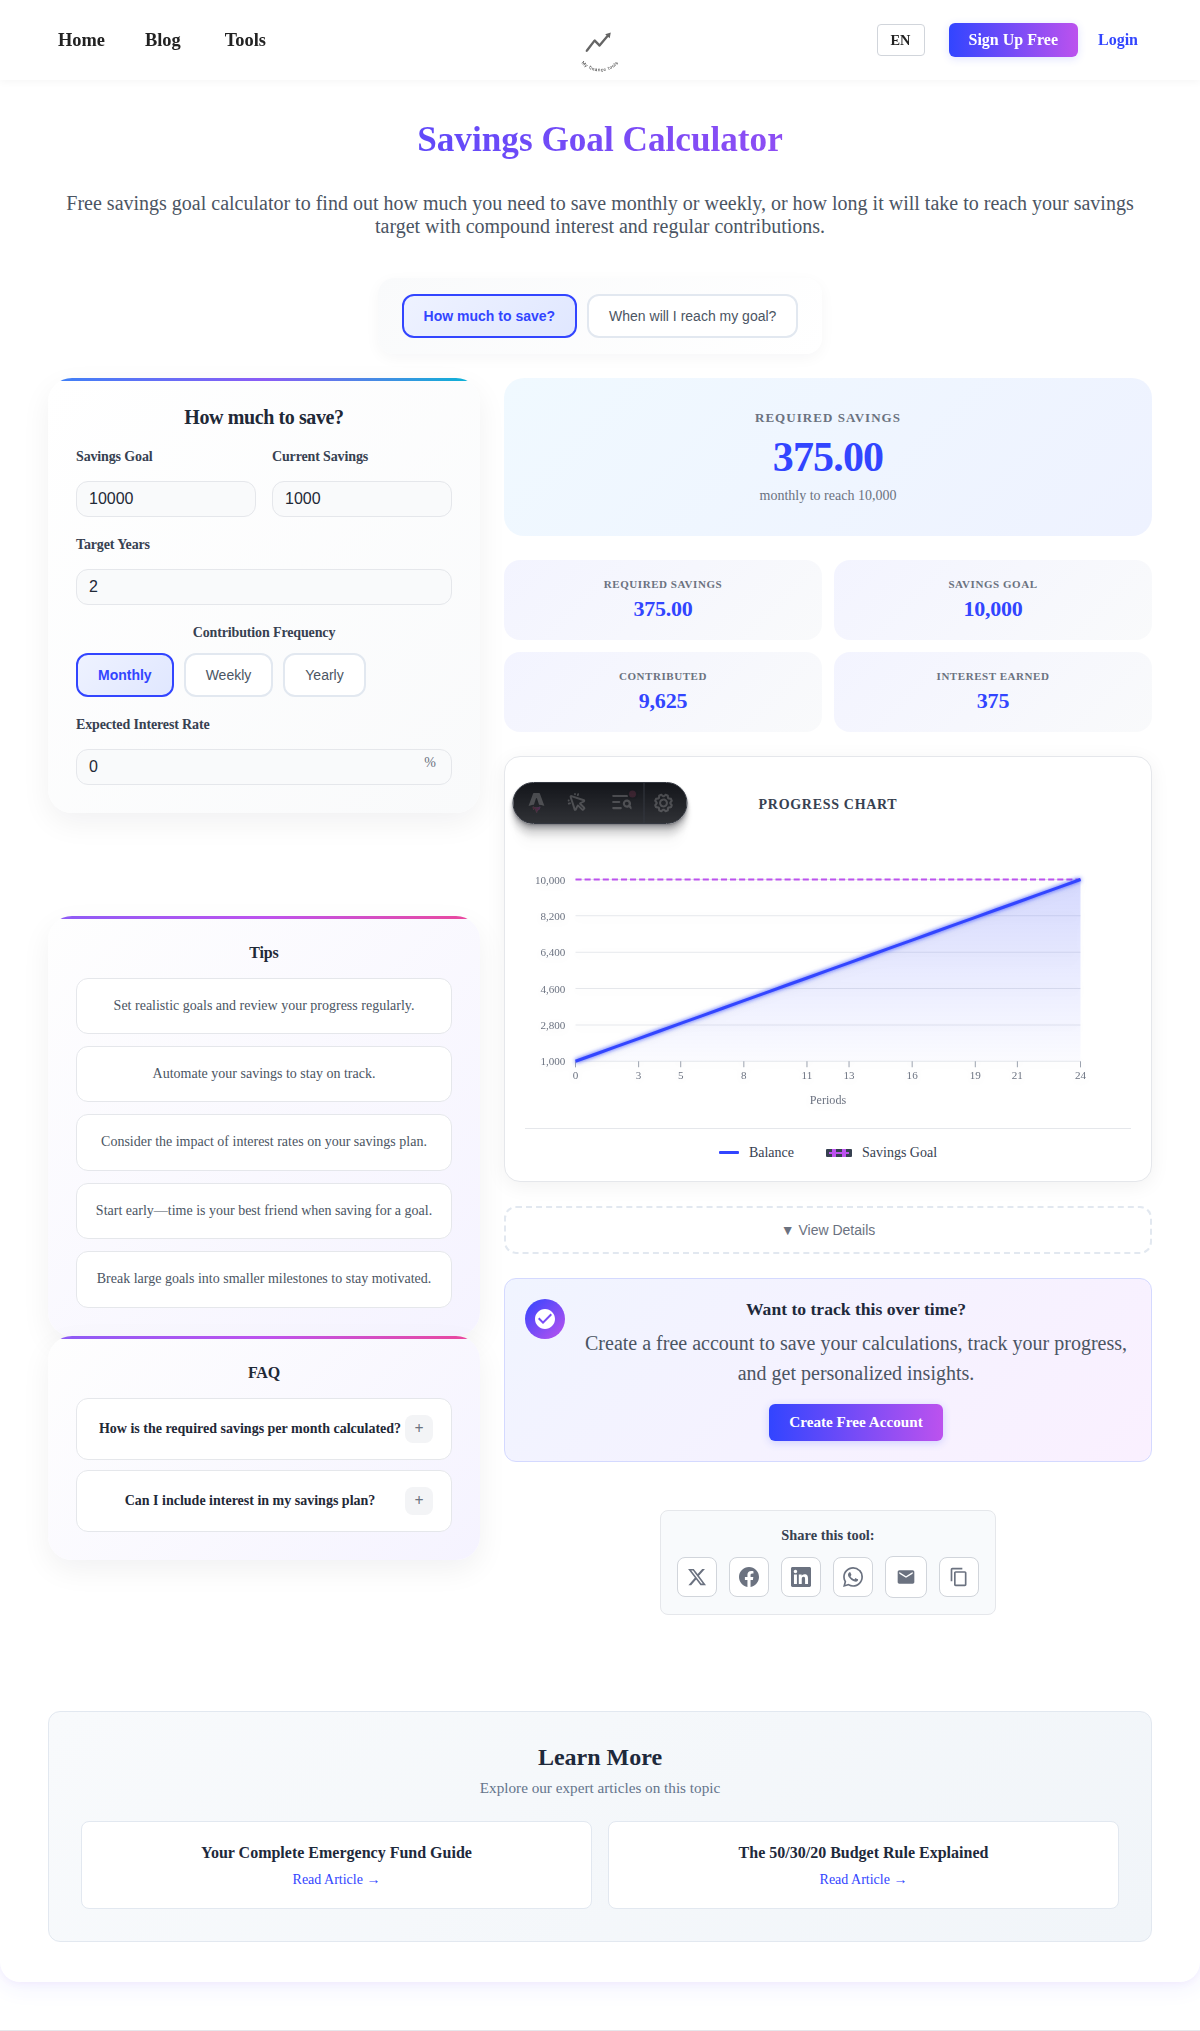
💡 Get Your Personalized Recommendation: Use our Emergency Fund Calculator to determine your ideal emergency fund size based on your specific situation, including employment type, dependents, and risk factors. The calculator also shows you exactly how long it will take to reach your goal and tracks your progress along the way.
Who Needs More (or Less) Than 6 Months
Save 8-12 months if you have:
- Variable income (freelancers, commissioned sales, seasonal work)
- Single income household with dependents
- Health issues that could affect work ability
- Specialized career with limited job opportunities
- Economic uncertainty in your industry
- Self-employment or business ownership
3-4 months might be sufficient if you have:
- Dual-income household with stable jobs
- High job security (tenured positions, government jobs)
- Marketable skills with quick re-employment prospects
- Strong family support system as backup
- Disability insurance that covers extended income loss
Special circumstances:
- High debt: Start with $1,000, then focus on debt payoff
- Extremely low income: Even $250 is better than nothing
- High net worth: May need larger fund due to lifestyle costs
Where to Keep Your Emergency Fund
Your emergency fund needs to be liquid, safe, and separate from your daily spending accounts.
Best Options
High-Yield Savings Accounts
- Pros: FDIC insured, competitive rates (4-5% APY), easy access
- Cons: Rates can change, may have minimum balance requirements
- Best for: Most people’s primary emergency fund location
Money Market Accounts
- Pros: Higher rates than traditional savings, FDIC insured, check-writing ability
- Cons: Higher minimum balances, limited transactions
- Best for: Larger emergency funds ($10,000+)
Short-Term CDs (3-12 months)
- Pros: Guaranteed returns, FDIC insured, prevents impulsive spending
- Cons: Penalties for early withdrawal, lower liquidity
- Best for: Portion of large emergency funds
Avoid These Options
Checking Accounts
- Too accessible for non-emergencies
- Very low or no interest
- Better for monthly expenses, not emergency savings
Stock Market Investments
- Value can drop when you need money most
- Not guaranteed available when needed
- Better for long-term wealth building
Retirement Accounts
- Penalties and taxes for early withdrawal
- Reduces retirement security
- Should be last resort only
Crypto or Speculative Investments
- Extremely volatile
- Could lose significant value quickly
- Not appropriate for emergency funds
Building Your Emergency Fund: Step-by-Step Strategy
Step 1: Set Your Initial Goal ($500-$1,000)
Start small to build momentum and avoid feeling overwhelmed.
Quick funding strategies:
- Sell items you don’t need
- Pick up extra shifts or freelance work
- Use tax refund or work bonus
- Cut non-essential expenses for 1-2 months
Step 2: Automate Your Savings
Set up automatic transfers:
- From checking to emergency fund savings
- Right after payday (pay yourself first)
- Start with any amount—even $25/week helps
Example progression:
- Week 1-4: $25/week = $100
- Month 2-3: $50/week = $400
- Month 4+: $75/week = $300/month
Step 3: Find Extra Money
Reduce expenses temporarily:
- Cancel subscriptions you don’t use
- Cook at home instead of eating out
- Use generic brands for groceries
- Reduce entertainment spending
Increase income:
- Freelance or part-time work
- Sell unused items
- Cash back apps and rewards
- Ask for overtime at work
Use windfalls:
- Tax refunds
- Work bonuses
- Gifts or inheritance
- Insurance claim payments
Step 4: Optimize Your Approach
The 50/30/20 Budget Emergency Modification:
- 50% needs
- 20% emergency fund (instead of general savings)
- 30% wants
The Debt-Emergency Balance: If you have high-interest debt, consider this approach:
- Save $1,000 emergency fund first
- Focus on paying off high-interest debt
- Return to building full emergency fund
Common Emergency Fund Mistakes
Mistake #1: Keeping It Too Accessible
Problem: Money in checking account gets spent on non-emergencies Solution: Separate bank account, preferably different institution
Mistake #2: Investing Emergency Funds
Problem: Market crashes when you need the money most Solution: Stick to guaranteed, liquid savings options
Mistake #3: Using It for Non-Emergencies
Problem: Fund gets depleted for wants or planned expenses Solution: Strict definition of emergencies, separate vacation/wish funds
Mistake #4: Not Replacing Money After Use
Problem: Fund stays depleted after legitimate emergency use Solution: Immediately restart saving plan after emergency expense
Mistake #5: Perfectionism Paralysis
Problem: Waiting for “enough” income to start saving Solution: Start with any amount, build momentum
Advanced Emergency Fund Strategies
The Tiered Approach
Tier 1: $1,000 in high-yield savings (immediate access) Tier 2: 2-3 months expenses in money market account Tier 3: Additional months in short-term CDs or bonds
The Credit Line Backup
Only for disciplined savers:
- Keep smaller cash emergency fund (2-3 months)
- Have unused credit line available as backup
- Risk: Requires discipline not to use credit for non-emergencies
Emergency Fund Laddering
- Divide fund into 3-month CDs with staggered maturity dates
- Always have one CD maturing within 90 days
- Higher returns than savings accounts
- Risk: Penalties if you need money before maturity
When (and How) to Use Your Emergency Fund
Before You Withdraw
Ask these questions:
- Is this a true emergency that threatens my financial stability?
- Have I exhausted other options (family help, payment plans, temporary income)?
- Can this wait until my next paycheck?
- Am I using this to avoid debt, or creating more problems?
Making the Withdrawal
Process:
- Transfer only what you need for the immediate emergency
- Keep receipts and document the expense
- Look for ways to minimize the cost (multiple repair quotes, insurance claims)
- Immediately create plan to replenish the fund
After Using Your Emergency Fund
Recovery plan:
- Assess what caused the emergency (preventable? insurance issue?)
- Restart automatic savings contributions immediately
- Consider temporarily increasing savings rate to rebuild faster
- Review if your emergency fund target amount is adequate
Emergency Fund Success Stories
Case Study 1: Job Loss Protection
Situation: Marketing manager laid off during company restructuring Emergency fund: $18,000 (5 months expenses) Result: Able to take time finding the right job instead of accepting first offer; negotiated 15% salary increase
Case Study 2: Medical Emergency
Situation: Unexpected surgery with $5,000 out-of-pocket costs Emergency fund: $8,000 Result: Paid medical bills without debt, focused on recovery instead of financial stress
Case Study 3: Home Repair Crisis
Situation: HVAC system failed in middle of summer Emergency fund: $3,000 (recently started building) Result: Covered most of $4,500 repair cost, only needed small personal loan instead of high-interest credit card
Building Beyond the Emergency Fund
Once your emergency fund is complete, redirect that automatic savings to other goals:
Next Priority Financial Goals
- Pay off high-interest debt (credit cards, personal loans)
- Increase retirement contributions (aim for 15% of income)
- Save for major goals (house down payment, children’s education)
- Build wealth through investments
The Emergency Fund Graduation
When your net worth grows significantly:
- Consider higher emergency fund target (lifestyle inflation)
- Evaluate if you need other insurance (disability, umbrella policy)
- Look into more sophisticated cash management strategies
Tax Considerations
Emergency Fund Interest is Taxable
- Interest earned on savings accounts is taxable income
- Keep records of interest earned for tax filing
- Consider if tax-advantaged accounts make sense for part of fund
Tax-Advantaged Emergency Strategies
Roth IRA contributions (advanced strategy):
- Can withdraw contributions penalty-free anytime
- Tax-free growth if left for retirement
- Risk: May be tempted to use for non-emergencies
Your Emergency Fund Action Plan
Week 1: Assessment and Setup
- Calculate monthly essential expenses
- Set emergency fund target amount
- Research and open high-yield savings account
- Set up automatic transfer (start with any amount)
Month 1: Build Momentum
- Reach first mini-goal ($250-$500)
- Review and cut unnecessary expenses
- Sell unused items for extra funding
- Celebrate small wins to stay motivated
Months 2-6: Steady Building
- Increase automatic savings amount when possible
- Use windfalls (tax refund, bonuses) for fund
- Track progress monthly
- Resist temptation to use for non-emergencies
Month 6+: Maintenance and Growth
- Reach target emergency fund amount
- Review and adjust target annually
- Redirect savings to other financial goals
- Maintain fund discipline for true emergencies only
The Bottom Line: Start Today
An emergency fund isn’t just about money—it’s about peace of mind, options, and financial freedom. It’s the difference between a temporary setback and a financial catastrophe.
Key takeaways:
- Start now with any amount you can afford
- Automate your savings to build consistency
- Keep it separate from daily spending accounts
- Stay liquid with high-yield savings, not investments
- Be strict about what qualifies as an emergency
- Replenish immediately after any withdrawals
Remember: The best emergency fund is the one you have when you need it. Whether you start with $25 or $250, the important thing is to start.
Ready to build your emergency fund? Use our savings goal calculator to create your personalized savings plan and see exactly when you’ll reach your target. Your future self will thank you for starting today!